Destiny 2, made by Bungie, is a popular online game where you play as a shooter in a big, exciting world. It’s famous for its great story, huge universe, and fun gameplay.
Many players get the Centipede error code when they lose connection to Destiny 2’s servers. This can happen for several reasons, like server outages, slow internet speeds, or strict network settings. Bungie has noted that Centipede errors often occur in specific regions, suggesting that local internet issues can also be a factor.
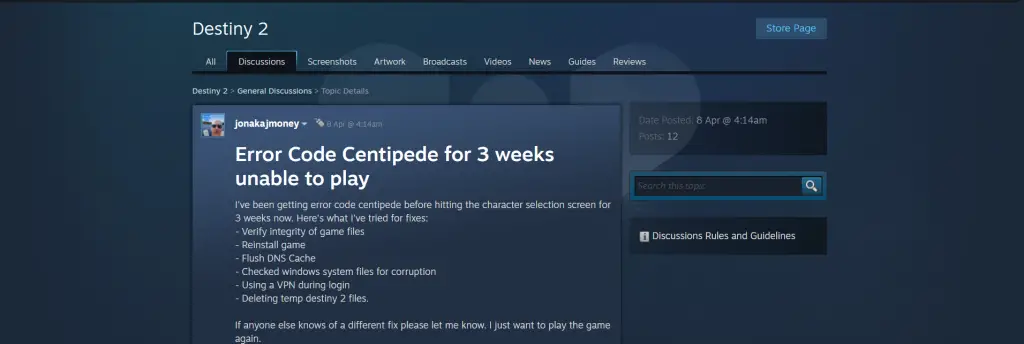
Many players have talked about this error on Steam.

Fixing Destiny 2 Error Code Centipede
To fix the Destiny 2 error code “Centipede,” which usually happens because of network problems, try these steps:

Solution 1: Check Server Status
Before trying more complicated solutions, check if the Destiny 2 servers are up and running. Bungie has a server status page where you can see if there are any known issues.
Solution 2: Test Your Internet Connection
A slow or unstable internet connection can cause many problems. Run a speed test to check your connection. If your internet speed is too low for online gaming, contact your ISP for help.
Solution 3: Restart Your System and Router
Just restarting can fix connection problems. Turn off your gaming system and unplug your router for a few minutes. Then, plug the router back in, wait for it to fully restart, and turn your system back on. This can help refresh your network connection.
Solution 4: Reset Your IP Address
Refreshing your network connection can help solve some issues. To reset your IP address, follow these steps:
- Open the command prompt as an administrator.
- Type these commands one by one and press Enter after each:
ipconfig /flushdns
ipconfig /registerdns
ipconfig /release
ipconfig /renew
netsh int ip reset
netsh winsock reset- Restart your computer after running these commands.

Solution 5: Port Forwarding
Set up port forwarding on your router to confirm it allows Destiny 2 traffic. Here are the ports you need to open for each platform:
PlayStation Network:
- TCP: 1935, 3478-3480
- UDP: 3074, 3478-3479
Xbox Live:
- TCP: 3074, 1935, 3478-3480
- UDP: 88, 500, 3074, 3544, 4500
Steam (PC):
- UDP/TCP: 27015-27030
- UDP: 4380, 27000-27031, 27036
To do this, go to your router settings and find the port forwarding section. Enter the ports listed above, save the changes, and then restart your router.
Solution 6: Adjust NAT Type
Setting your network to NAT Type 1 (Open) or NAT Type 2 (Moderate) is important for a stable connection to Destiny 2 servers. Follow these steps:
For PlayStation:
- Go to
Settings > Network > View Connection Status. - Write down your
IP address. - Open a web browser and enter your IP address to access your
router settings. - Find the
UPnP(Universal Plug and Play) setting and turn it on. - Save the settings and restart your router.

For Xbox:
- Go to
Settings > Network > Network Settings. - Select “
Test NAT Type” and follow the instructions. - If your
NAT Typeisn’t Open, follow the steps shown to fix it.

Solution 7: Turn off VPN or Proxy
If you’re using a VPN or proxy, turn it off. These can sometimes cause problems connecting to Destiny 2 servers.
Solution 8: Use a Wired Connection
Connecting your gaming system directly to your router with an Ethernet cable is better than using Wi-Fi. It makes your connection more stable and reduces delays, so you can have a smoother experience while playing.
Also Read: Destiny 2 Error Code Bat [FIXED]


